The Bauspiel building block range introduces a new range of shapes for ball runs, and with it a marvelous new set of options and techniques for ball runs.
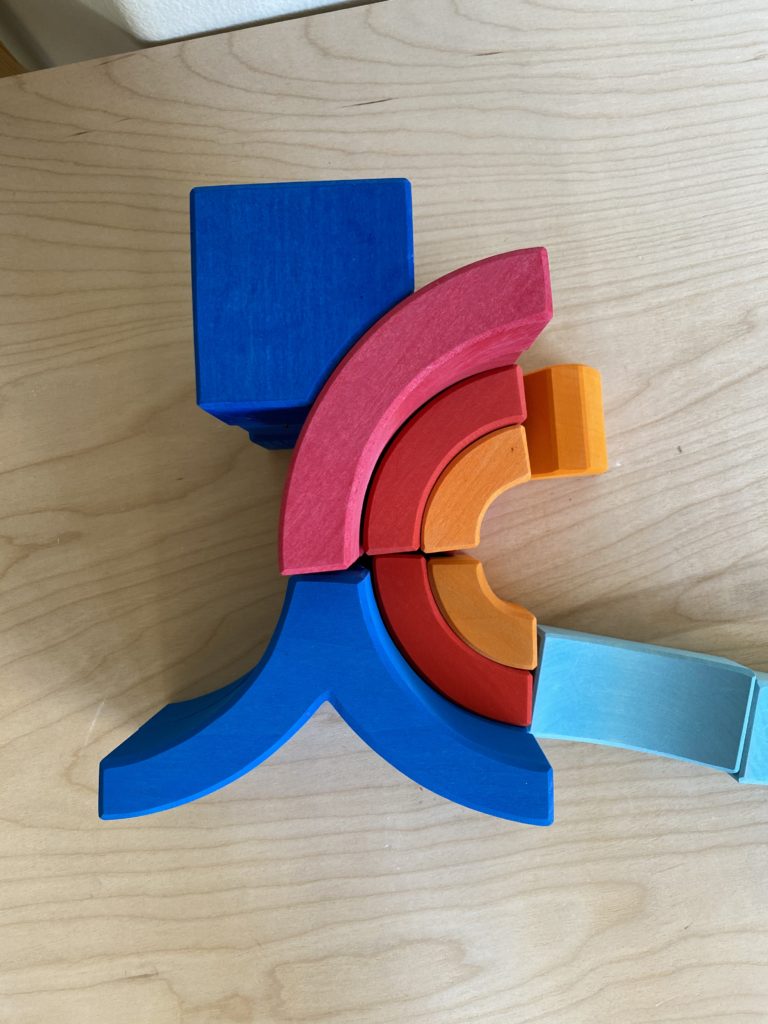
The previous video also shows off the quarter-rounds from the Bauspiel circle set. Until these sets came out, there weren’t many (any?) options for smooth 90 degree turns, so this set, with 3 size options is fantastic. The chunky blue corner pieces are good for holding the arches in place if the ball comes in with a lot of momentum.
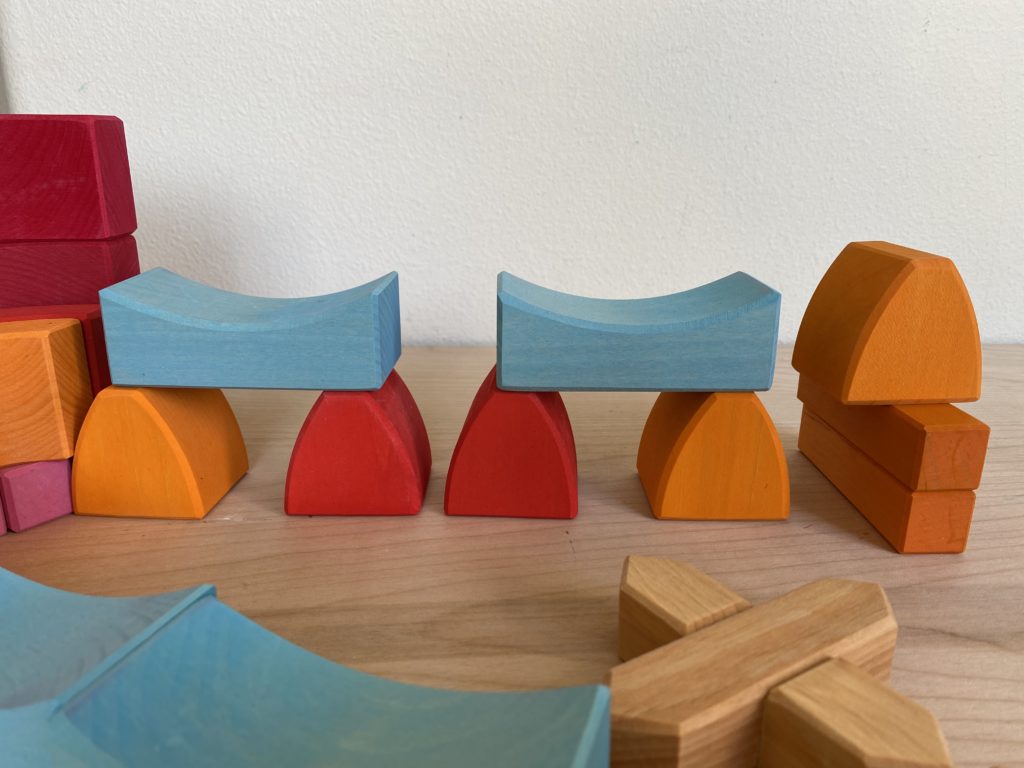
Perhaps the coolest move from the Basuspiel puzzle blocks are the jumps with the light blue blocks. Look how good it is in slow motion!
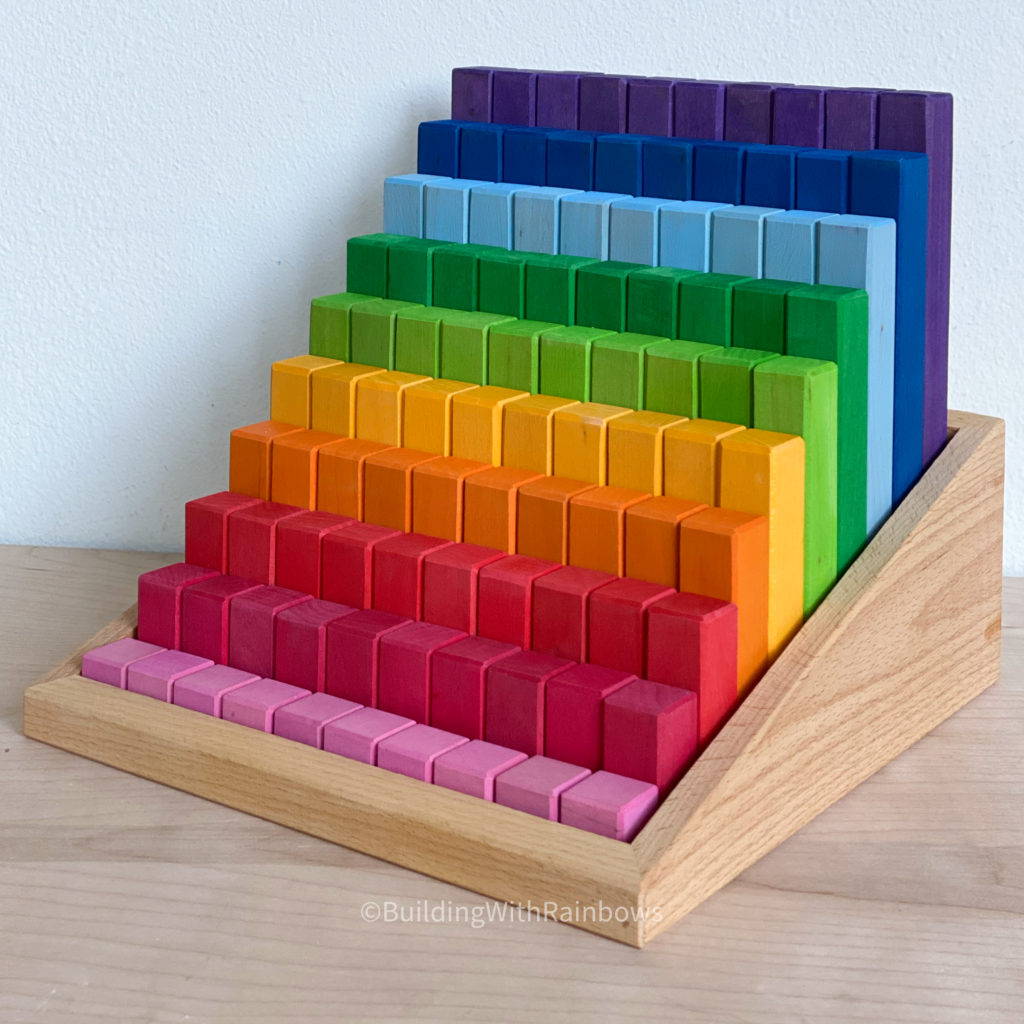
The Bauspiel Stepped counting blocks can be used for elevating a run but can also be used to make a deceptively simple track. If the tracks are set not quite parallel, but expanding, the ball will naturally roll down the track and onto the next one, as in the start of this run.
To build this run, you need the Bauspiel Circle set, Epsilon set, and Stepped Counting Blocks. It is built to fit the Grimms Small Balls.
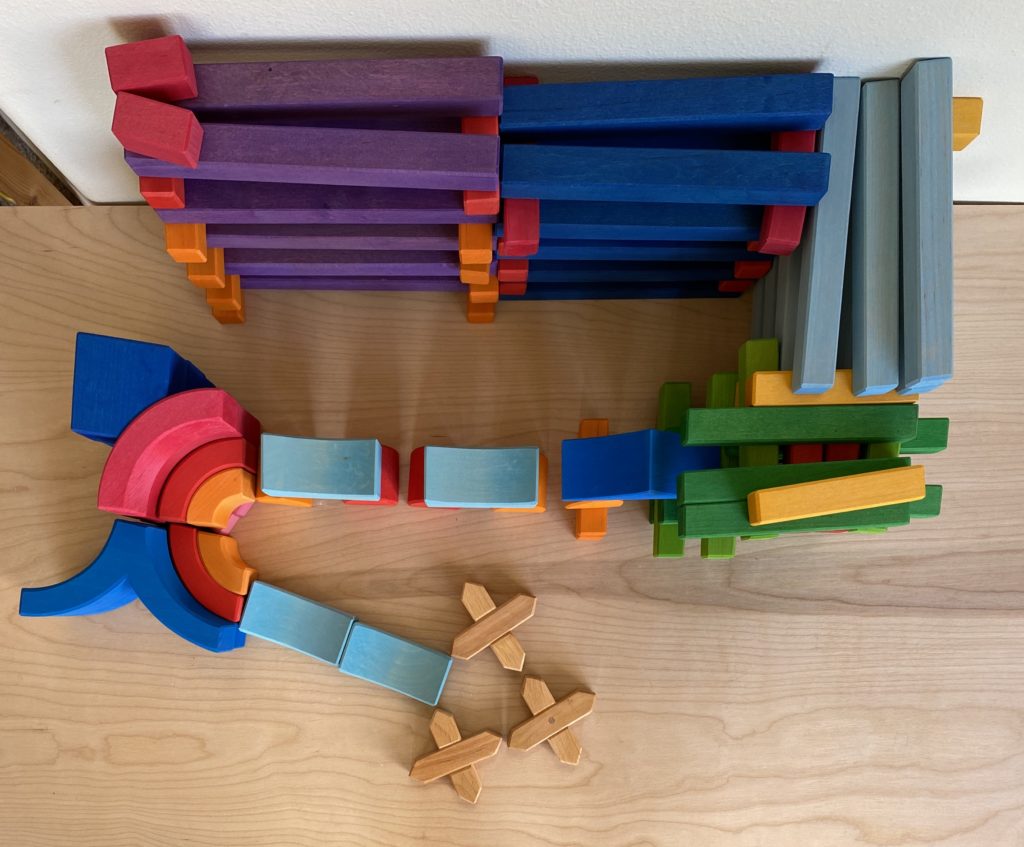
Start building at the end, with two light blue swoops from the circle set, and use anything handy to catch the ball at the end, so it doesn’t escape as you test and play with the run
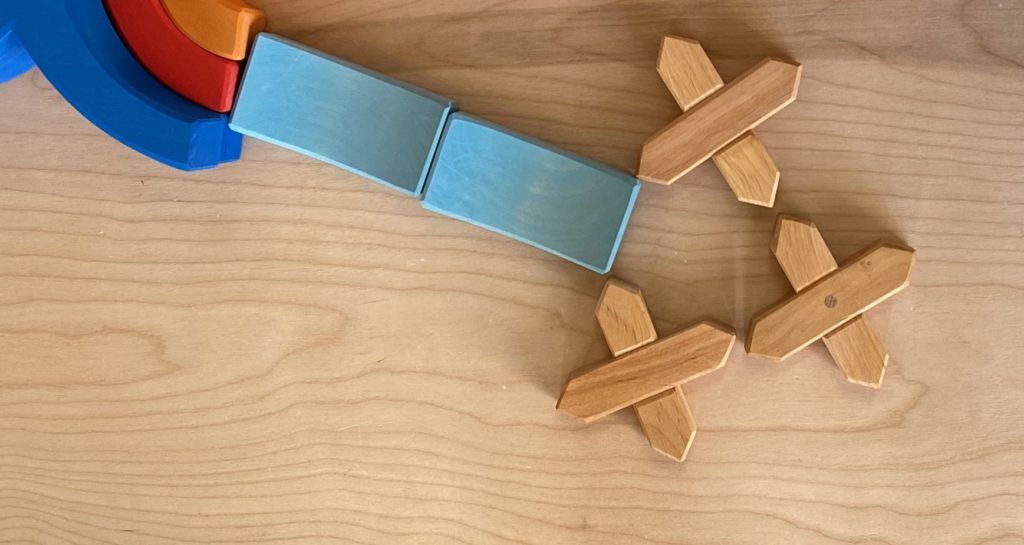
Use the two smaller curves from the circle set to make the track for the turn. Right next to the blue swoops, the track will sit on the ground, the next two pieces will sit on top of a layer of pink cubes
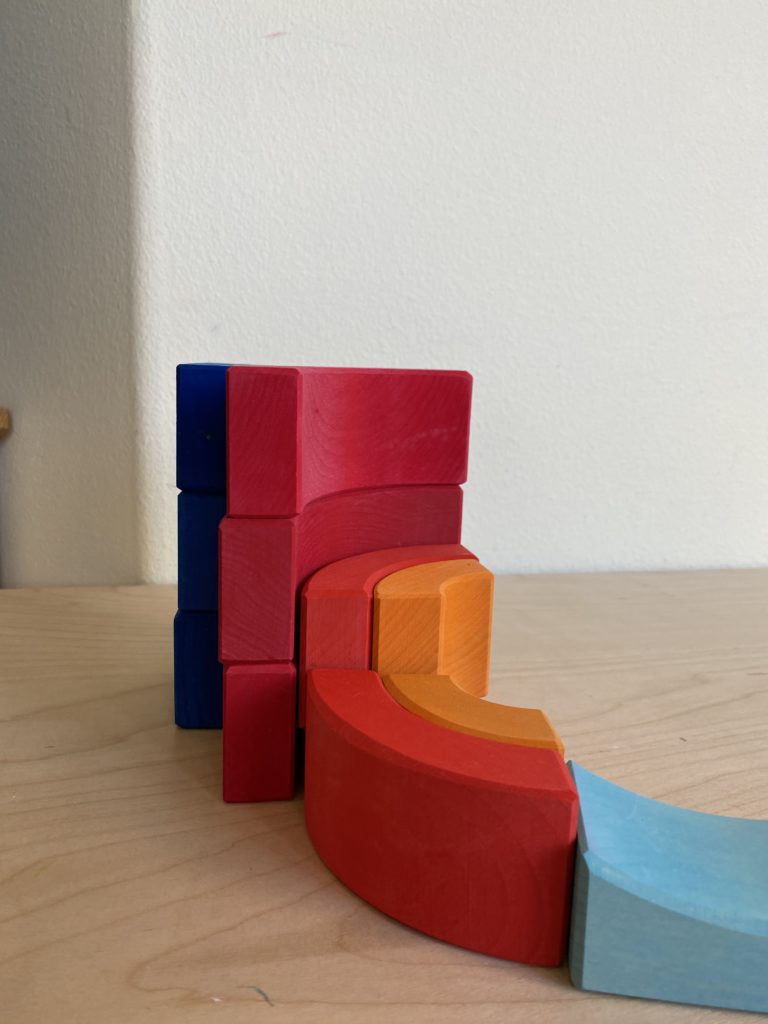
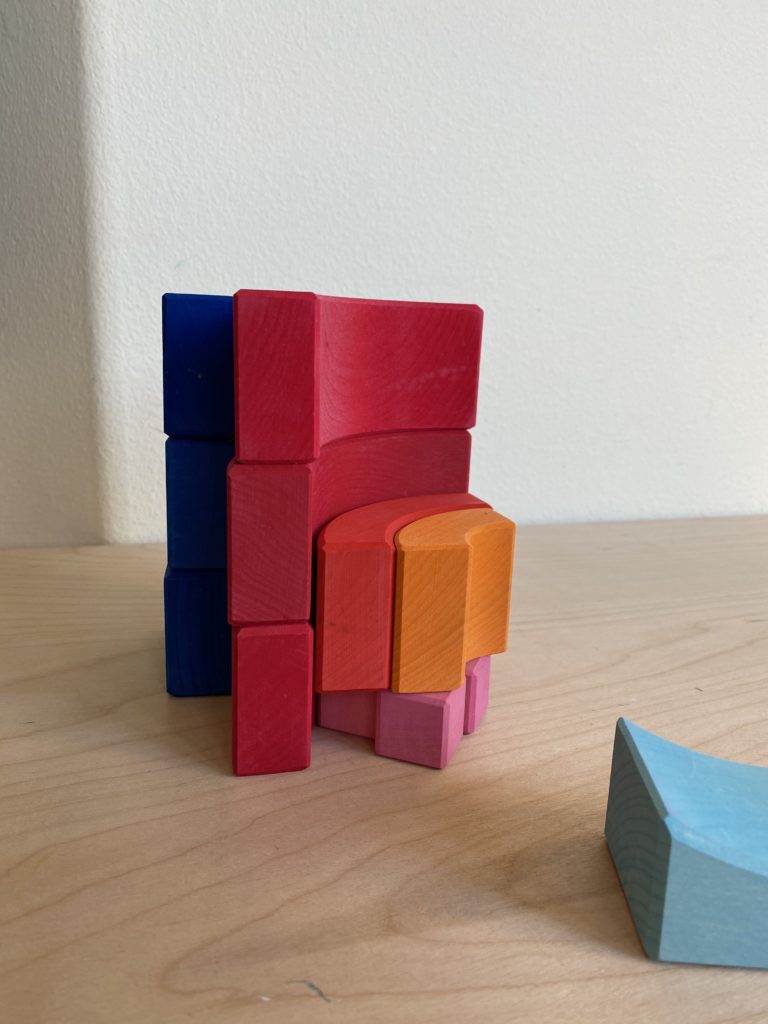
To guide the ball on the lower part of the track, use two stacked epsilon “y” pieces, and for the upper part, three of the largest circle curves, stacked, then backed with the dark blue corner pieces.
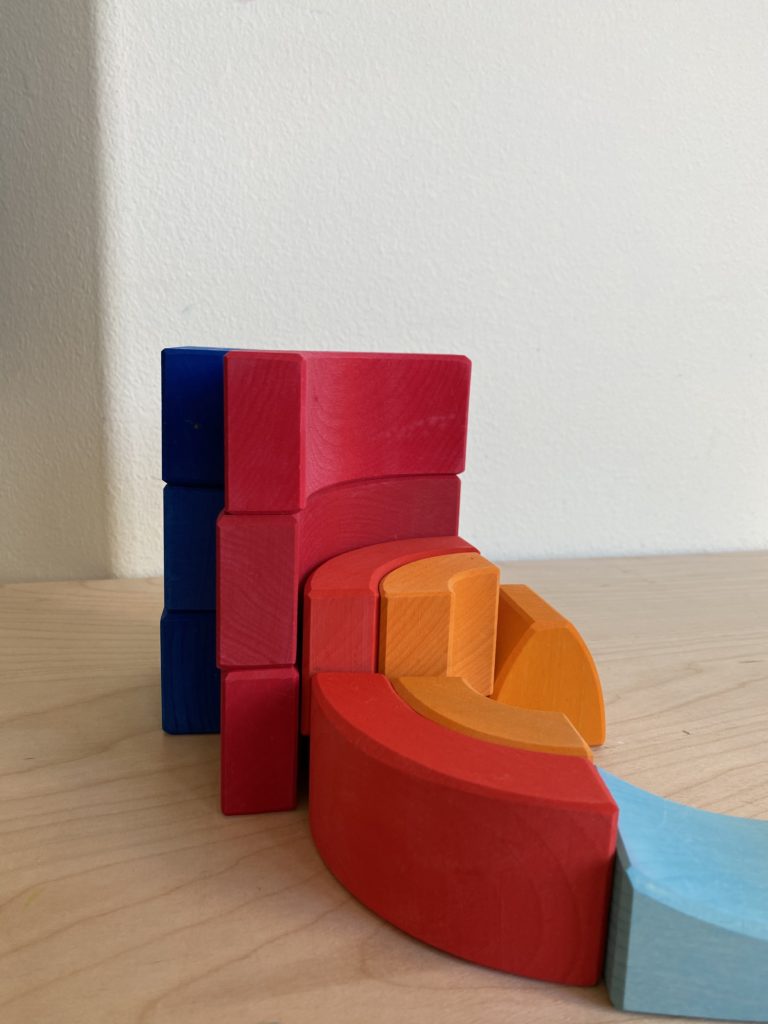
Use the “rocket fire” pieces to support the next round of swoops—don’t worry too much about spaing yet—it’s hard to test the spacing until you know how fast the ball will be coming in.
Next build the green parallel track tower. Halfway up add the blue ramp to feed the ball into the light blue swoops. At this point, pause and test the track to make sure its lined up properly, then finish building the tower. (you can ignore the pink and red rods. The 5-year-old needed to add some flair). Be sure the top green pieces are not parallel but expanding so the ball rolls the correct direction. The yellow rod on top will be adjusted later
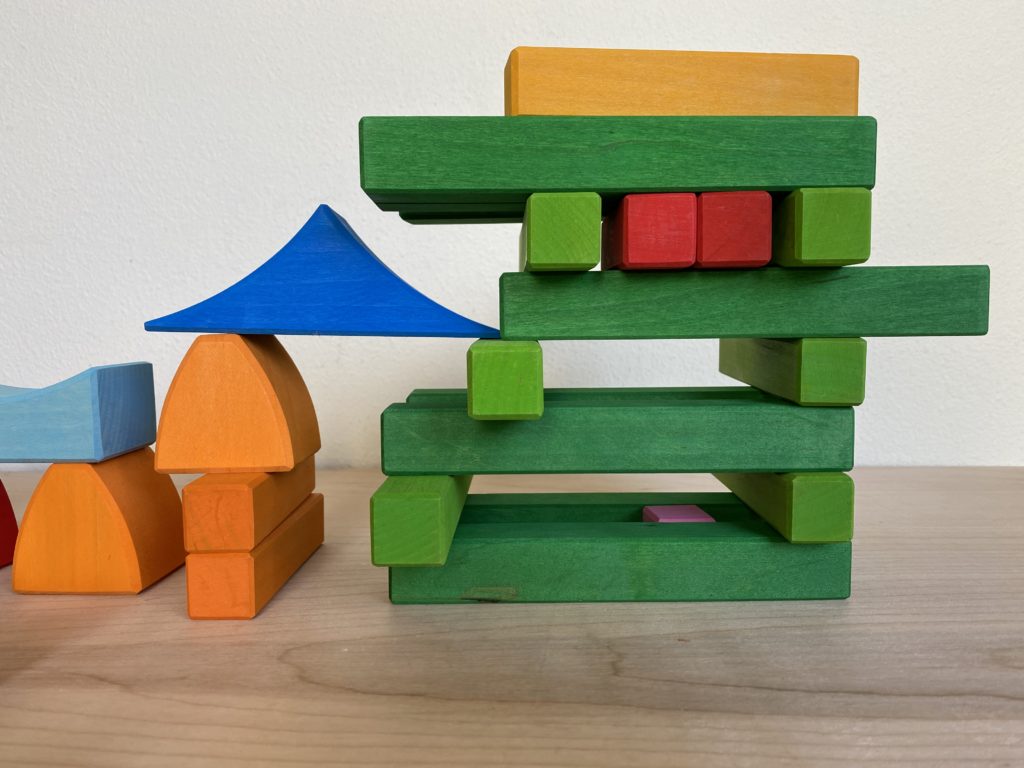
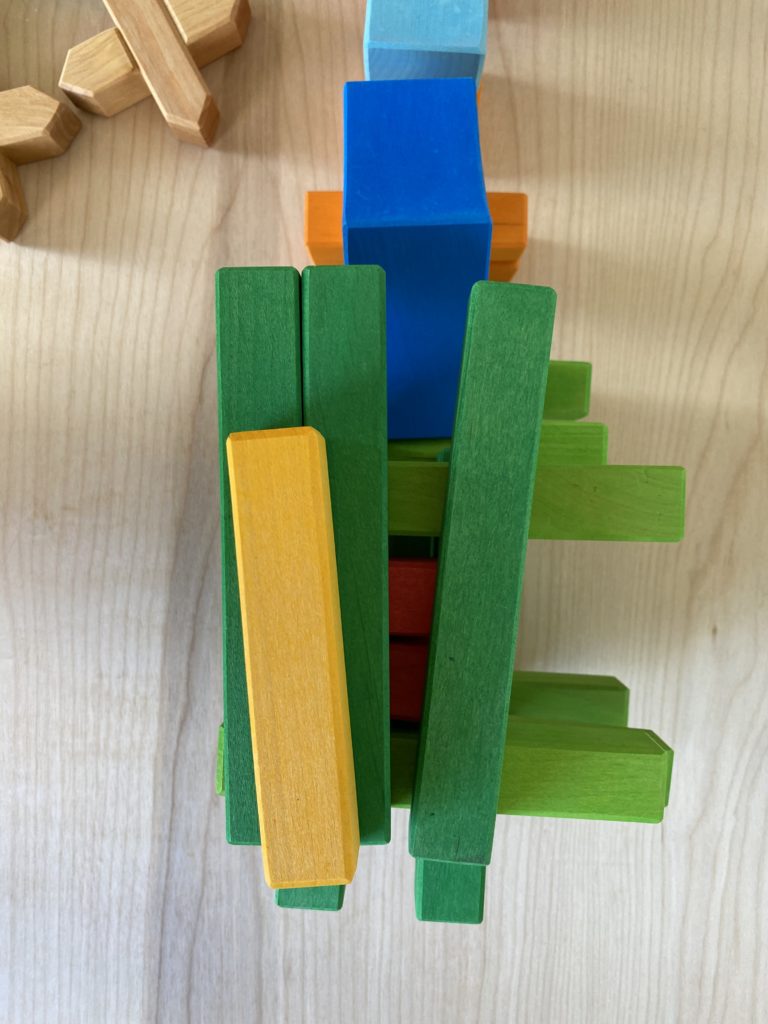
The next level is the trickiest as you need to integrate the supports of the light blue stage with the green stage, but they should slide together easily as shown. Again, be sure the track expands as it goes. At this point you should be able to start a marble at the start of the light blue track and it should be able to travel to the end unaided. Before you continue, make sure everything is lined up.
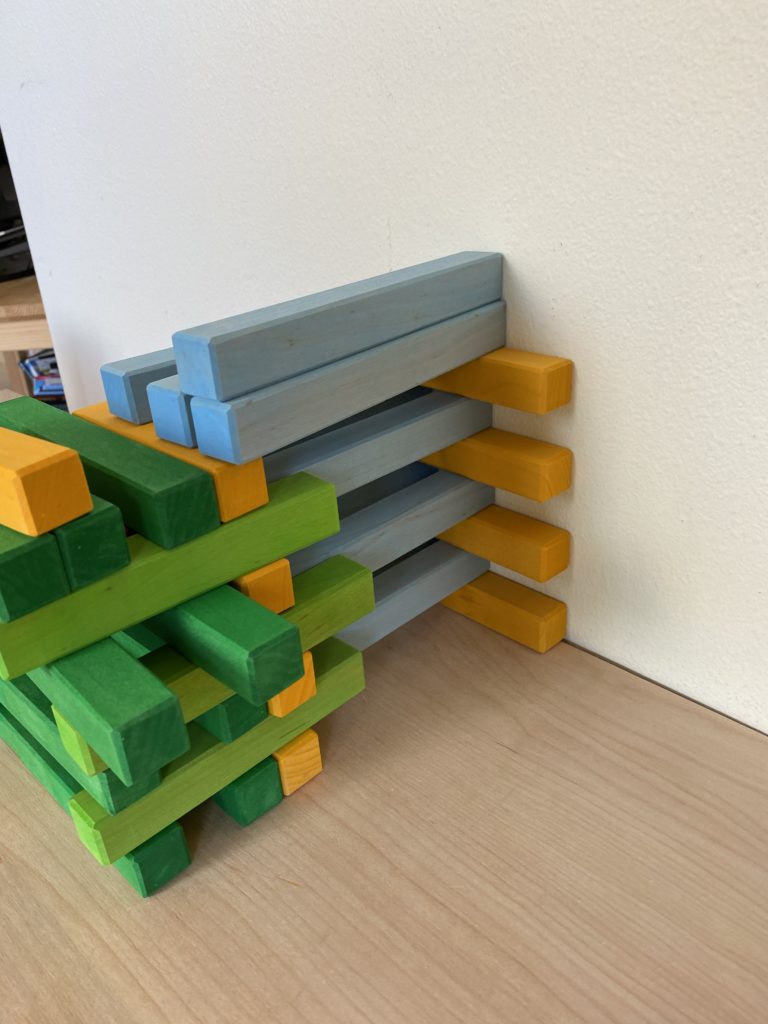
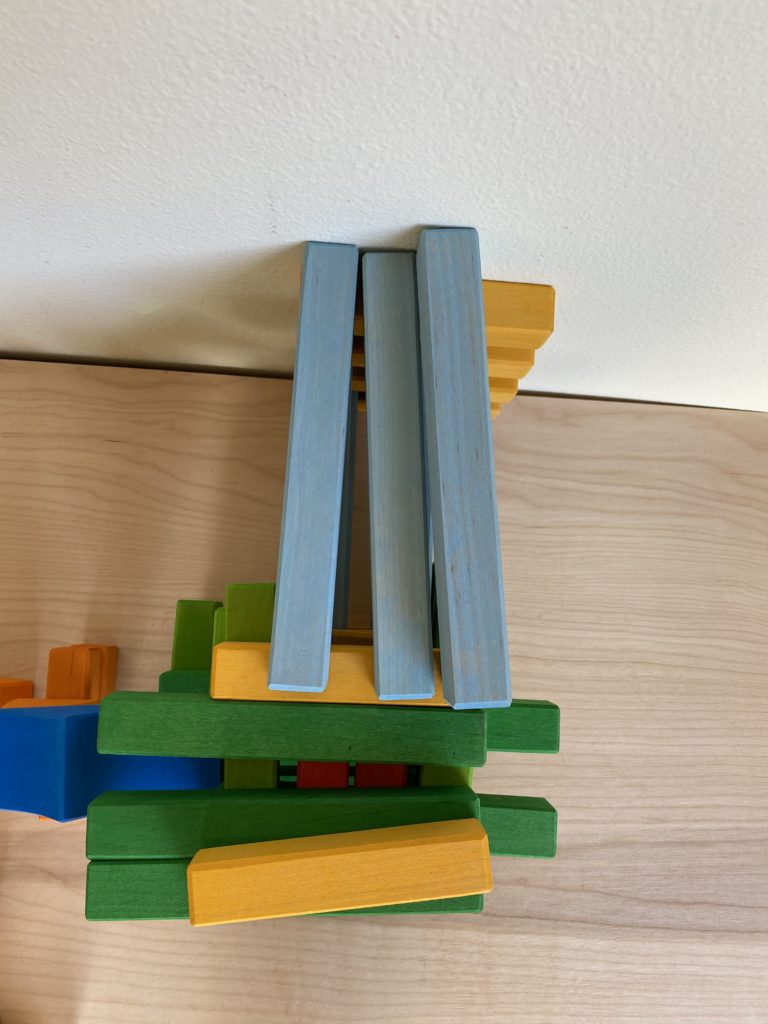
The last two stages are much like the previous two, but simpler to stack as each is an independent tower.
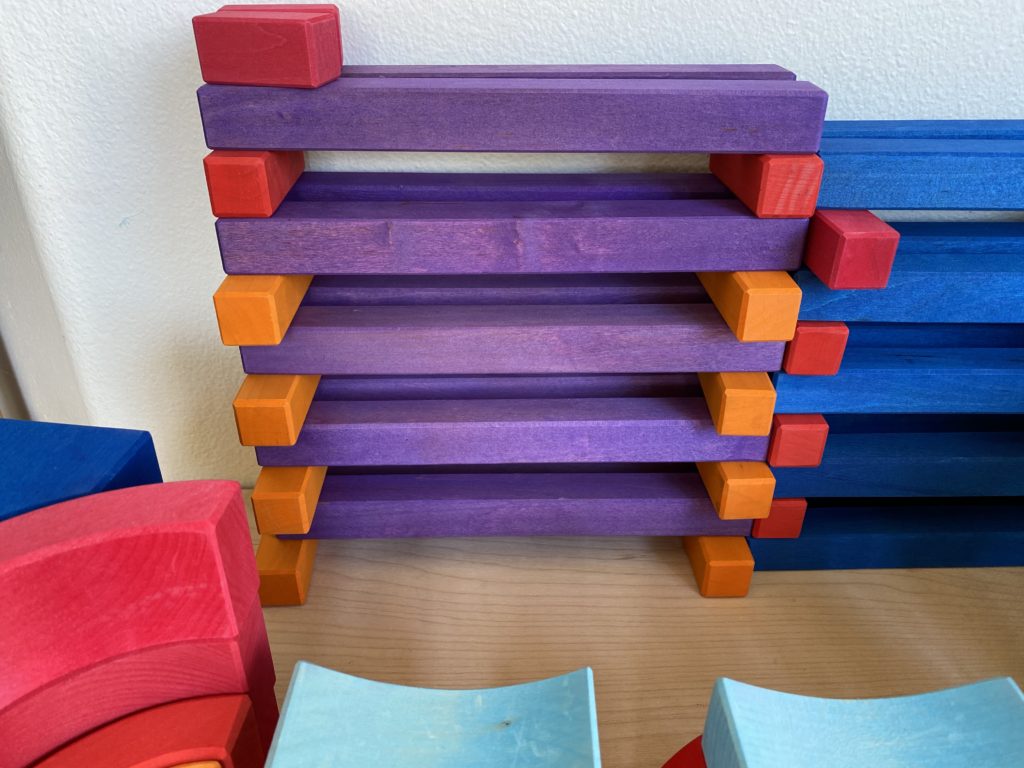
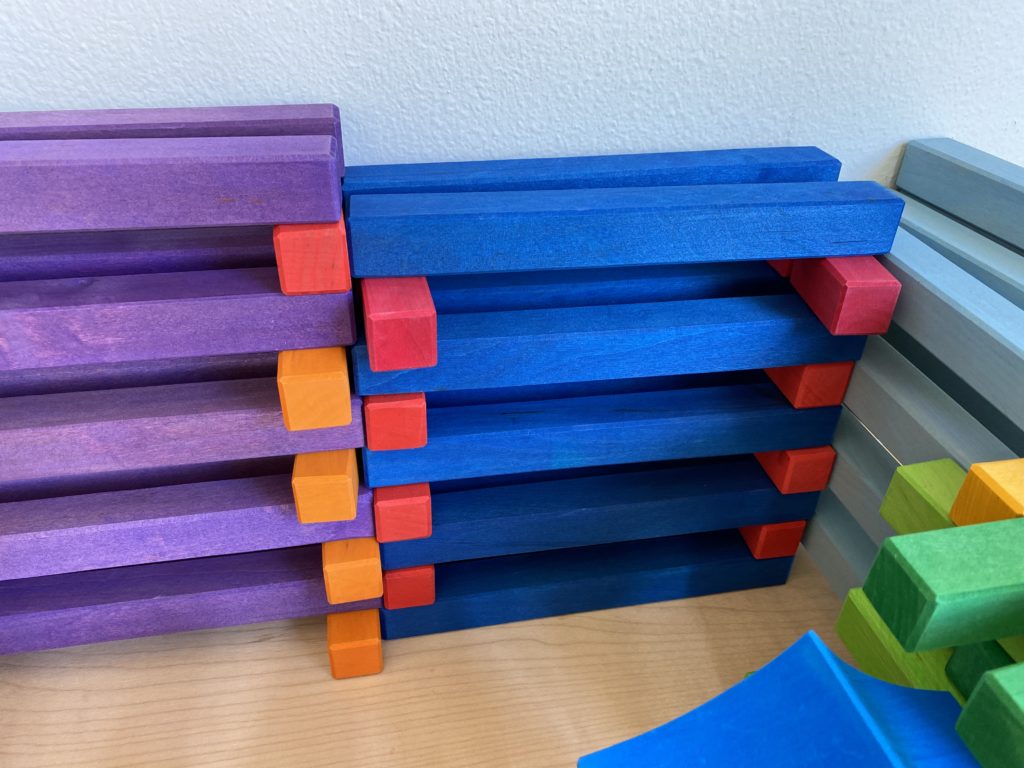
It should be ready to go! If the ball gets stuck on the straight tracks, double check that the tracks widen as they go, and use the guide rails on the light blue and green tracks to keep the ball from overshooting.
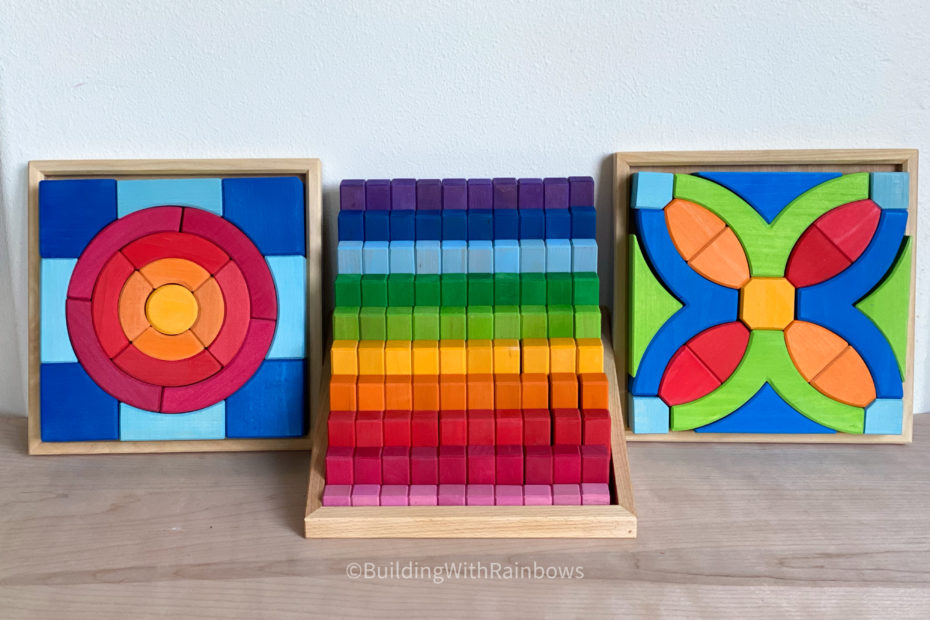
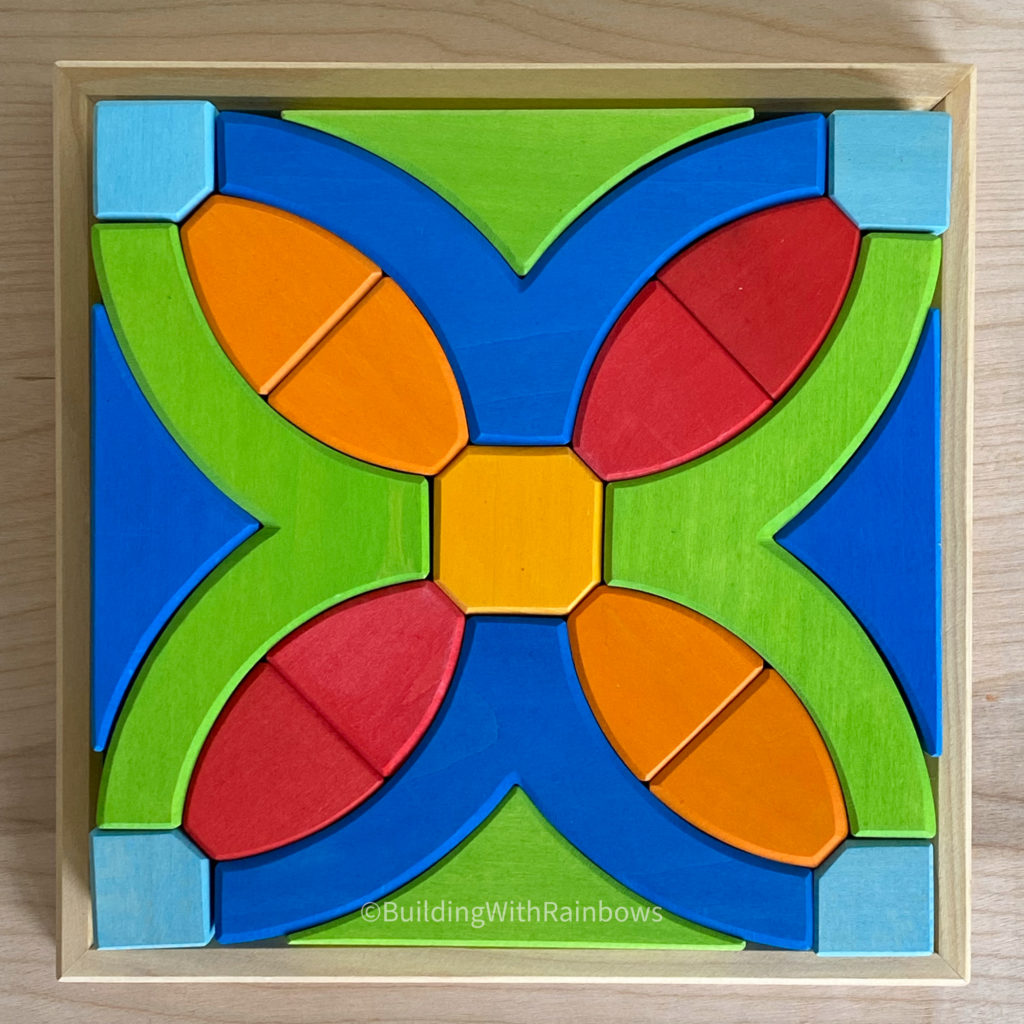
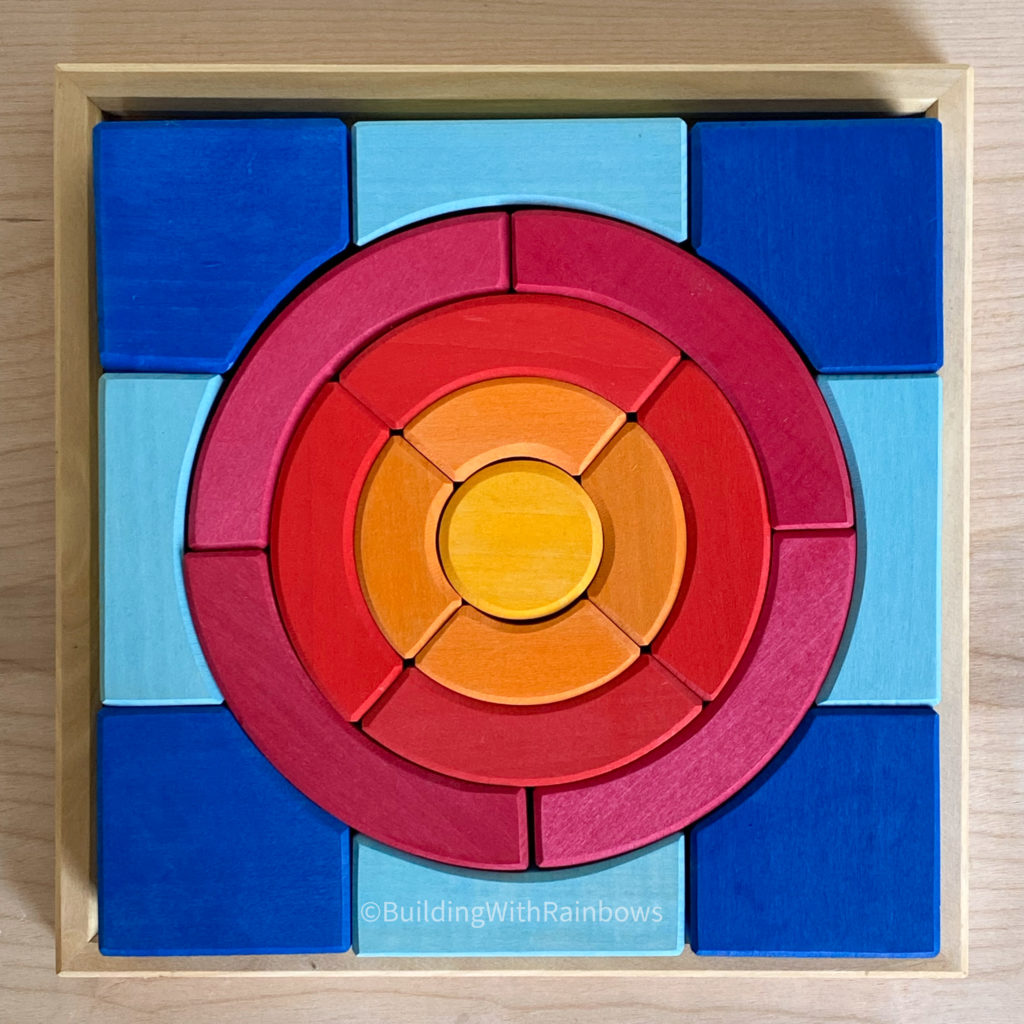
The sets used in today’s run are:
The links in this post are affiliate links. That means when you purchase through them, Building with Rainbows receives a small commission at no cost to you. Thank you for your support.

Pingback: Ball Run Sets: No Grimm’s Available – Building With Rainbows