
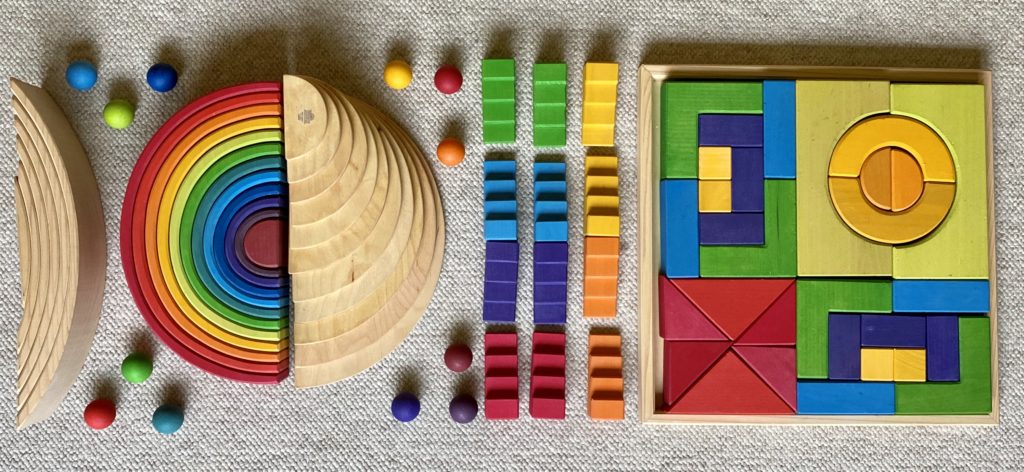
It can be easy to think that you need to have multiple trays of blocks to build an exciting ball run, but with a bit of creative stacking, that doesn’t have to be true. Using the Grimm Wooden Toys sets pictured above (L-to-R): Bridges, Large Rainbow, Semi-circles, Stepped Roofs, Basic set + small balls (12-pack), you can build this really solid-length and not-too fussy ball run. Follow along below for step-by-step instructions to put this together.
With almost every ballrun, its easiest to start building at the end, and work your way up. This one you could certainly do from the bottom up (I did, as you can see from the pictures), but the spacing is easier to figure out on this one if you build from the top. The sections of run are numbered here—we’ll walk through building them in this order. Along the way–don’t forget to stop and test the setup to make sure all the parts are lined up properly.

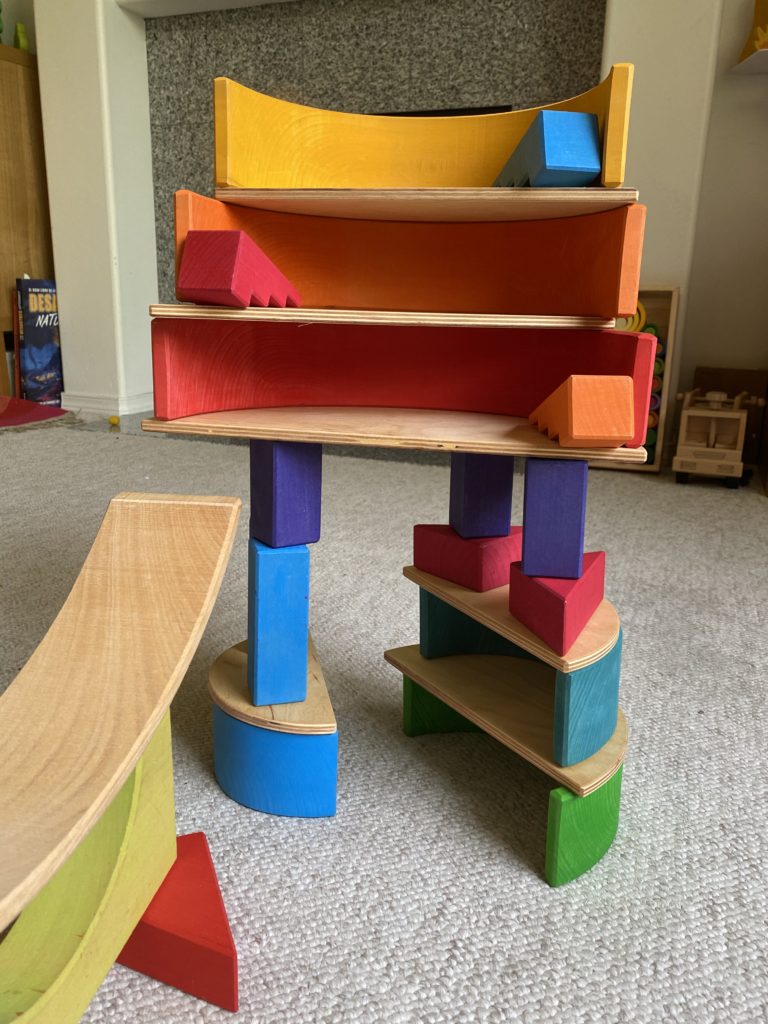
To build the tower, start at the bottom using the turquoise, green and blue arches of the rainbow with their corresponding semi-circle plates, and stack them like this
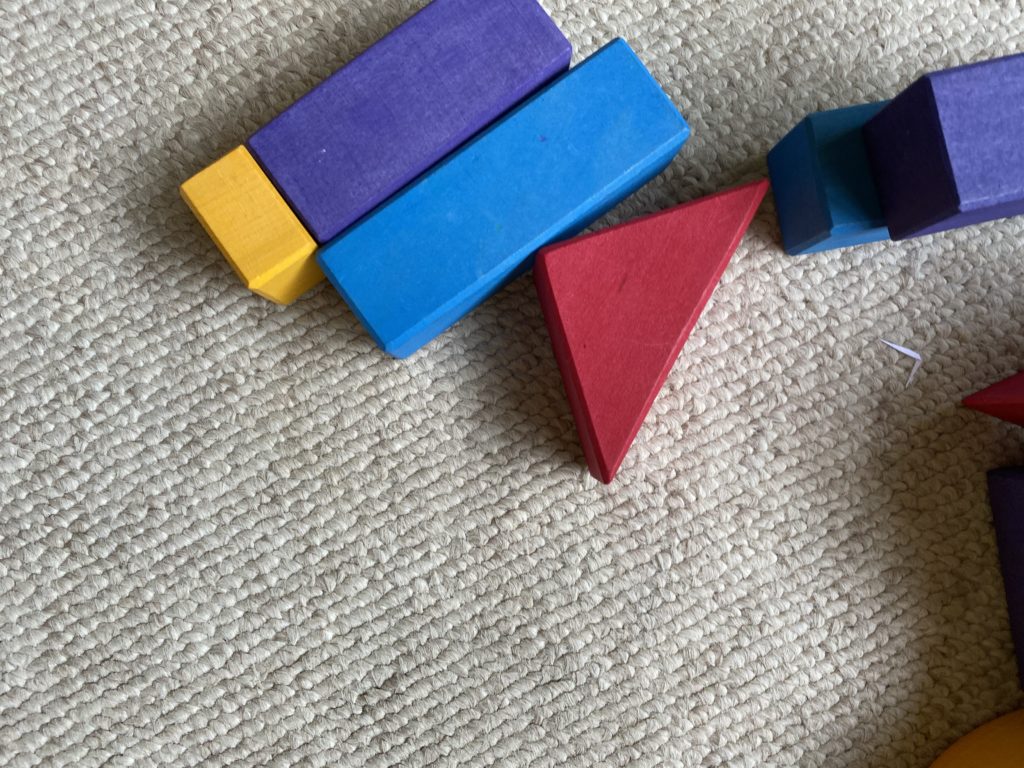
On top of the light blue arch, place two of the blue (12 cm) blocks, each with a purple (8cm) block on top. On top of the turquoise arch, place two of the smaller red triangles from the basic set, each with one of the purple (8cm) blocks on top. The top of these should all be at the same height.
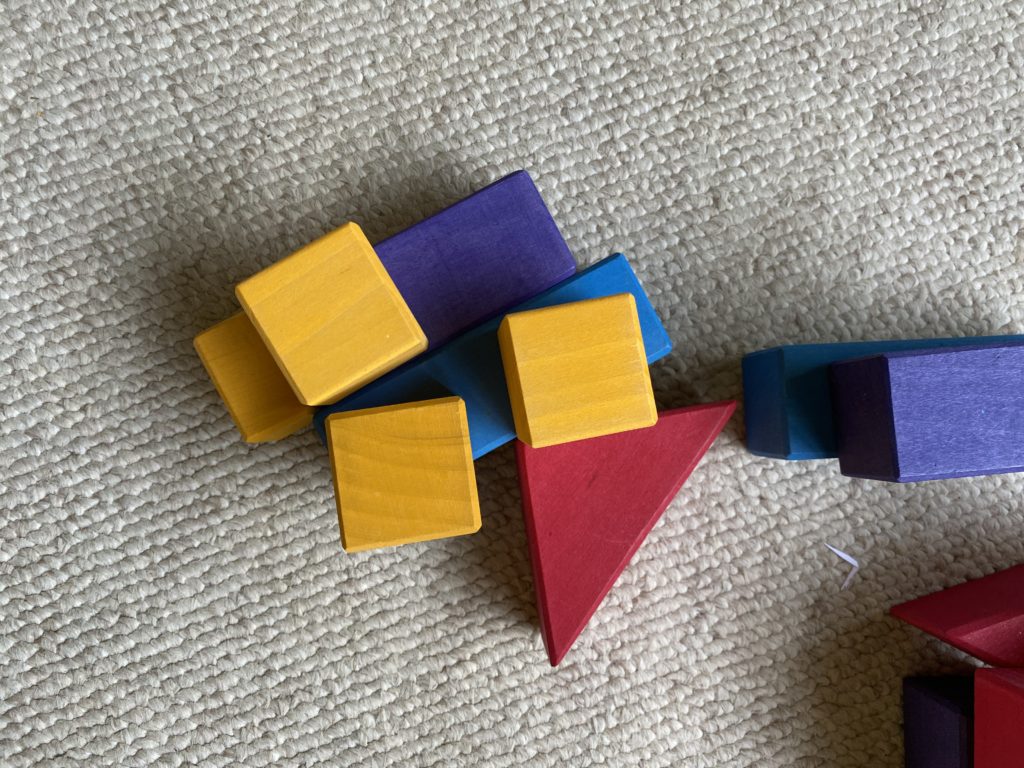
Centered on the four posts, place the second-largest semi-circle, with the corresponding, second-largest, arch on top of it. Take one piece of the stepped roofs, flip it upside down and place it on the right side of the arch to make a ramp
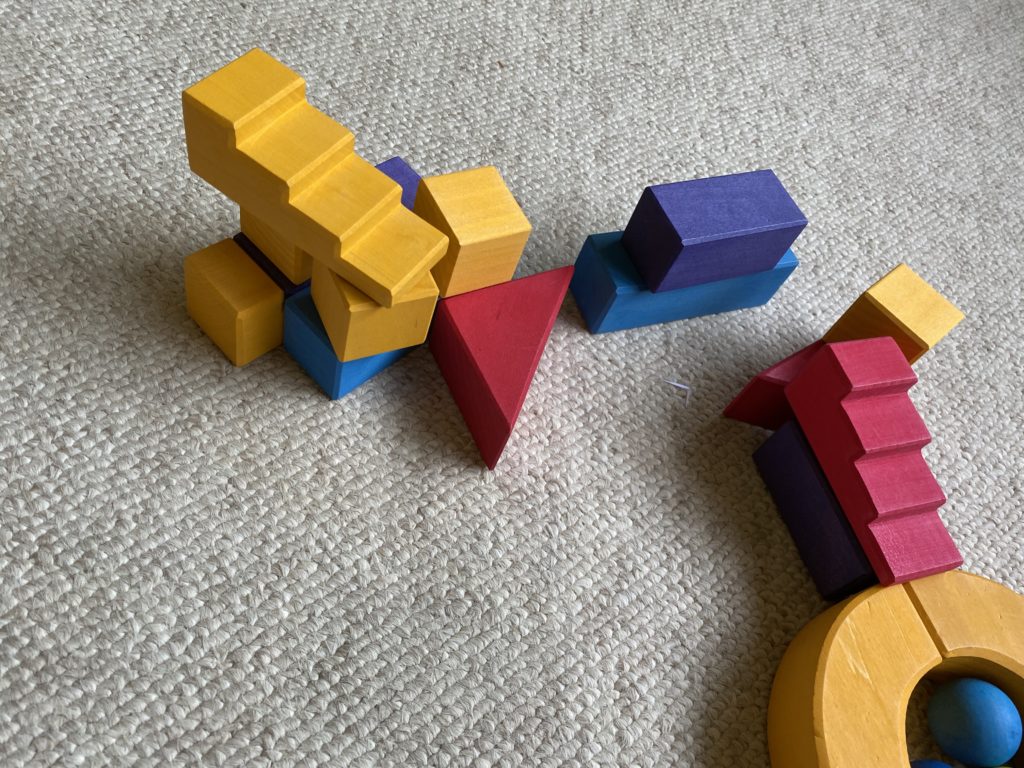
Take the next (orange) arch and corresponding semi-circle and place these on top of the previous layer, off-set as shown so that when the ball falls off this arch, it lands on the ramp below it. Add another flipped stepped roof piece.
Repeat the previous step, with the yellow arch and semi-circle + stepped roof piece
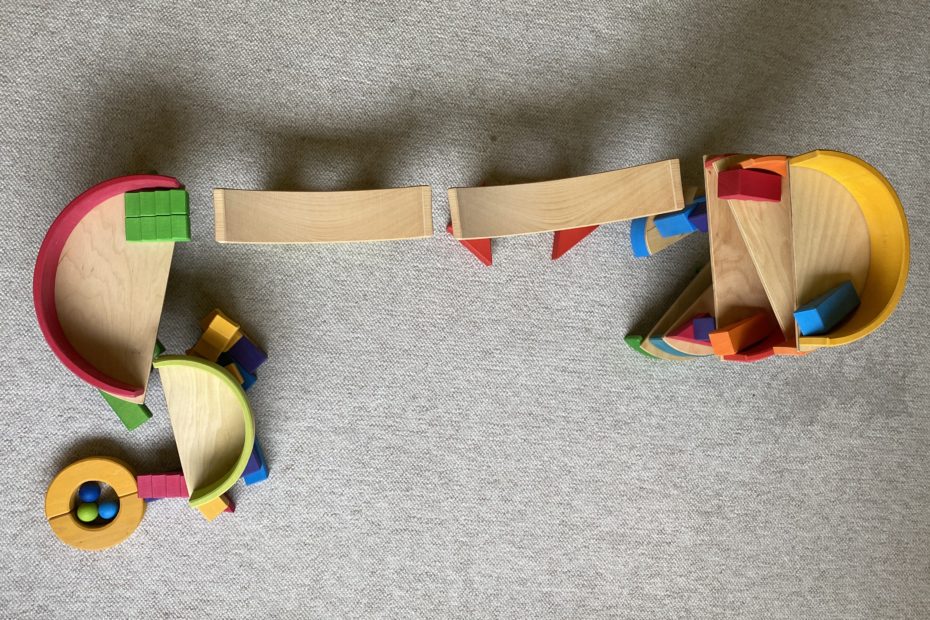
Section 1 is now complete and should look like this.
Section 2 is straightforward to build—use the two large red triangles under one of the green arches and put the largest bridge piece on top. The hardest part of this section is lining up this piece so that it neatly catches the ball as it exits section 1
Section 3—similar to section 2, this one is the 2nd largest bridge on top of a green arch. Again, the important part is getting the spacing lined up so it catches the ball

The placement on this section is critical. Run a ball from the top of the run, and watch where it lands after the second bridge—this will give you a good idea of where to start building section 4. Place the blue and purple arches as the base of the support for section 4, then put a green elbow on top of each arch. put the largest semi-circle and arch on top of the elbows. Use two pieces from the stepped roofs on top of the semi-circle to help guide the ball into the arch as it lands (ignore the parts of section 5 in this picture)


We’re building and odd-shaped base here, so bear with me. The goal is a support for the lime semi-circle that is 8cm high, and if yours is differently supported, it’ll still work just as well. If you have another block set, using other bigger blocks will make it easier—in this case I was sticking within the boundaries of the sets listed at the start
Put together these pieces to begin the support for the lime semi-circle plate. The yellow/purple piece is two pieces of stepped roofs combined. And there’s a purple 8cm block on top of a blue 12 cm block, half-out of the picture—you’ll adjust the placement of this once you know exactly where the semi-circle sits.
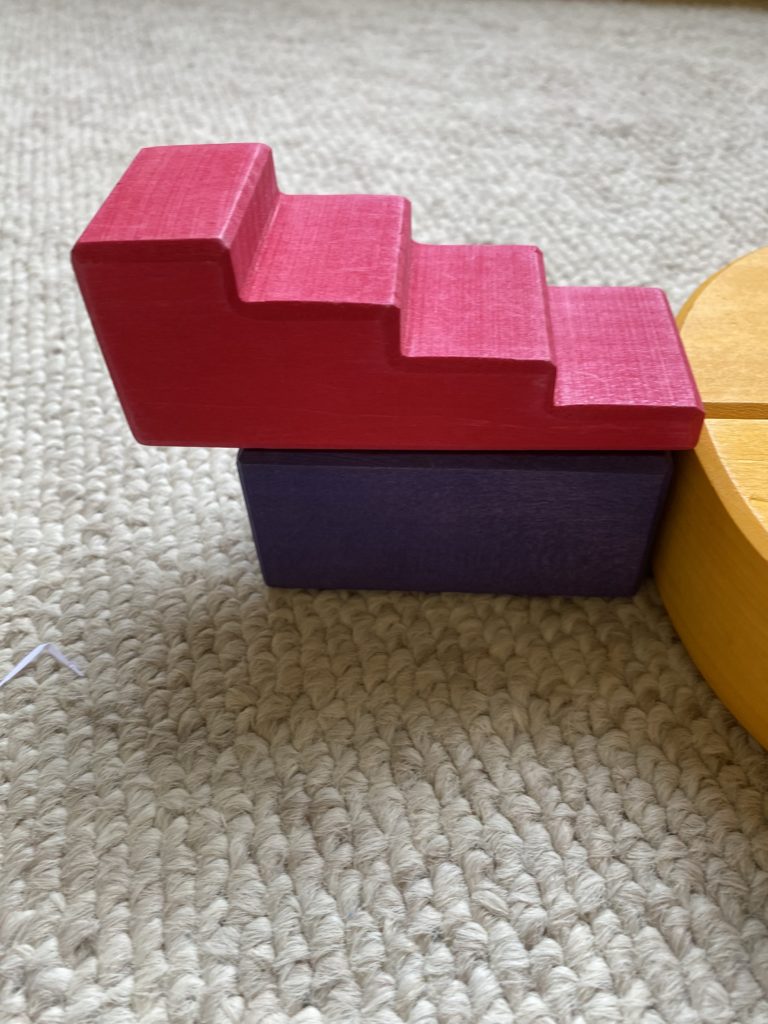
Add three cubes like this (in retrospect I should have flipped that red triangle the other way to be more stable, but if it holds, then its good! Then, there’s a second red triangle with a yellow cube on it as the last support for the arch—add it as shown (ignore both sets of steps for the minute, they’re shown for context). Next add the lime semicircle and arch as shown, then adjust the base to make sure it’s supporting the semicircle. Now take a set of steps and use the bottom step to wedge up the side of the semicircle that catches the ball as it exits section 4.
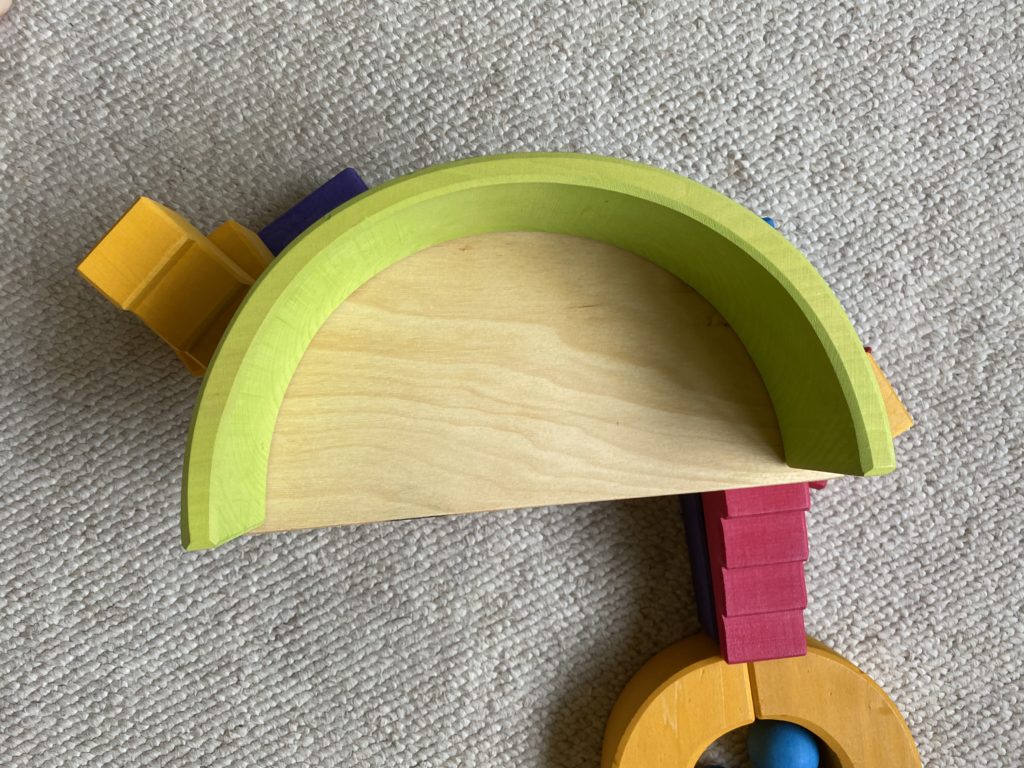
Elevate a stepped roofs piece using a purple (8cm) block at the outlet of the semi-circle to lead the ball out of the lime section into the finish circle

Give it a run! (and make a few adjustments along the way if you need to) Enjoy!
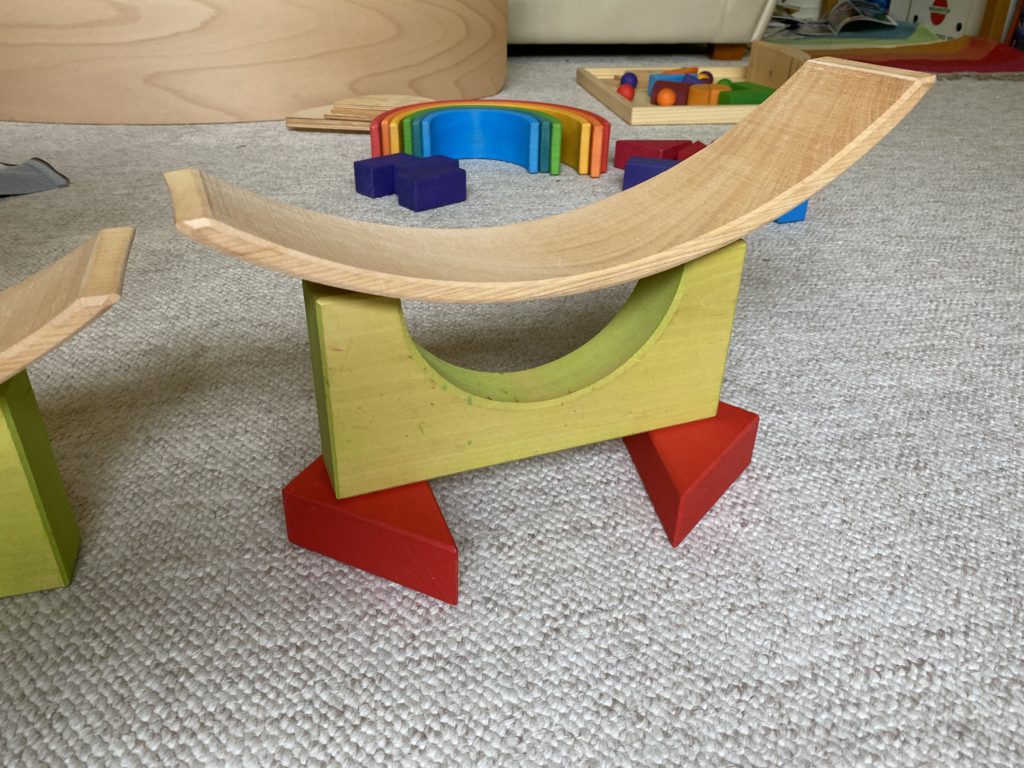
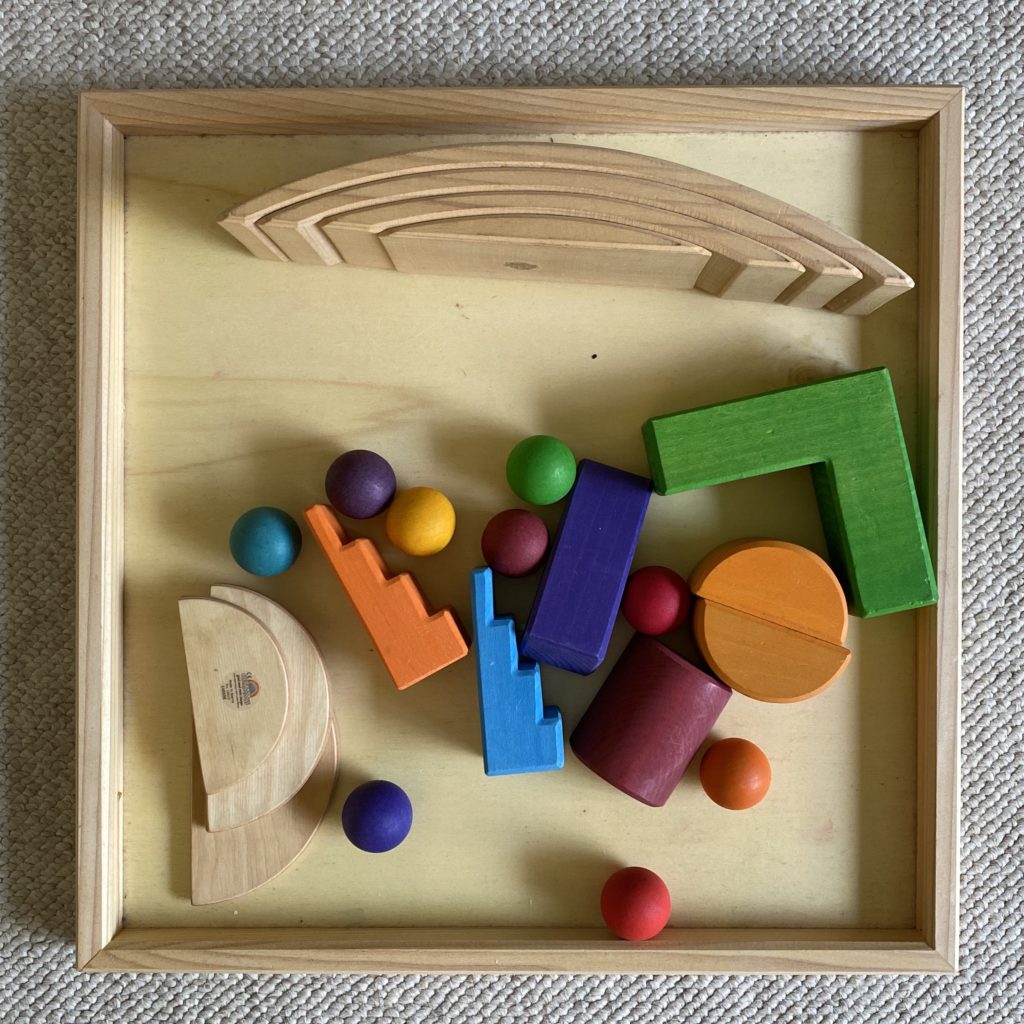
These are the pieces that were left over at the end.
Written by Emily of Building with Rainbows. Originally prepared for and published by Oskar’s Wooden Ark